Table of Contents
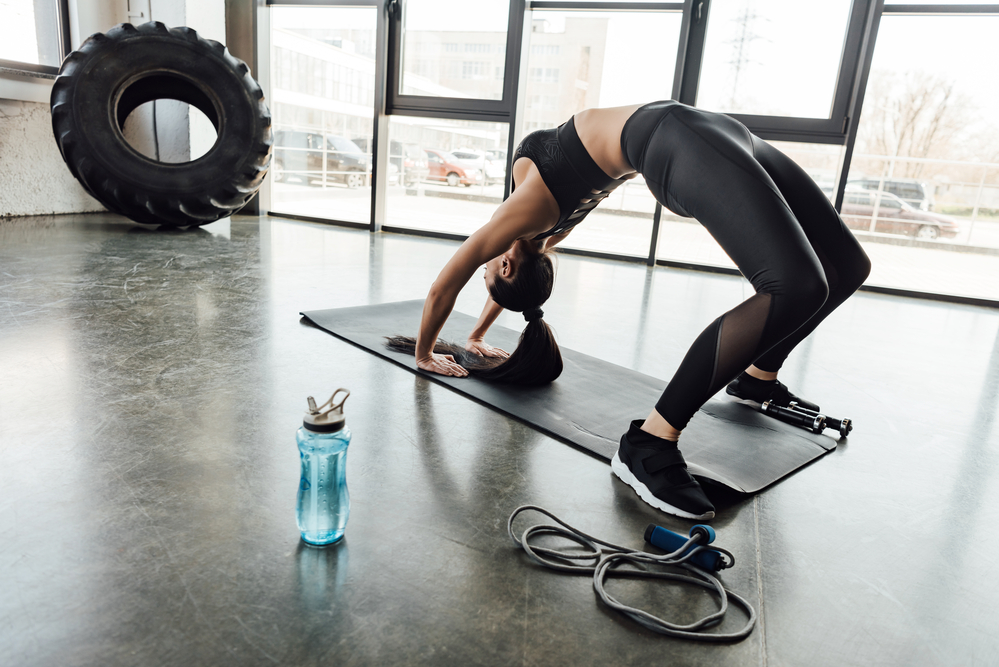
The bridge is a gymnastic exercise that can strengthen back muscles, straighten posture, develop flexibility, and improve circulation in the spinal discs’ tissues.
In bodybuilding, the bridge is rarely used because the very specificity of this sport involves assessing the appearance of the athlete. The goal of gym classes for many people is to have the most beautiful body possible, but not always the healthiest.
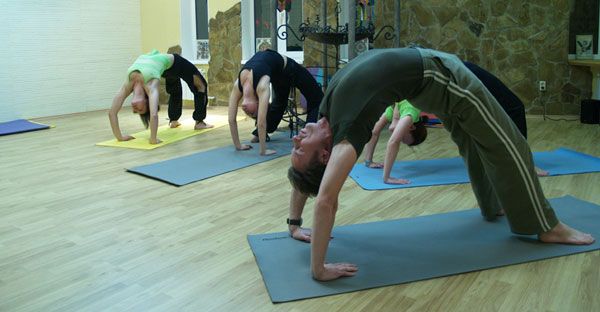
Meanwhile, a strong back and a flexible spine will allow any bodybuilder to achieve significantly greater results in training. Straighten posture that the main bonus of performing the bridge exercise regularly is the absence of back problems and good mobility.
Benefits of the exercise
Correct technique and regular training lead to several positive changes in the body. Perform bridge regularly and you’ll experience a bunch of nice things like these:
The spine muscles (extensor muscles) will be strengthened. These are long muscular “ropes” that run along the entire spinal column on both sides
Many small back and trunk muscles will work, as well as arm, leg, and buttock muscles
It greatly increases the flexibility of the spinal column and overall mobility of the body
Abdominal muscles are stretching, expanding the rib cage
It activates blood circulation in the tissues surrounding the intervertebral discs preventing their premature wear
A blood flow to the head increases cerebral circulation and stimulates mental activity
On top of everything else, the gymnastic element allows you to demonstrate your flexibility and physical fitness if done correctly
Contraindications
However, the bridge also has some contraindications. Refrain from doing this exercise if you have:
Spine conditions and disorders
Problems with the gastrointestinal tract
High blood pressure or headaches
Pregnancy
Joint disease or injury
Master the exercise gradually, starting with the simplest variations. Give your body time to adapt to the unfamiliar load.
Exercise technique
Let’s define how to properly control the body during the exercise before we talk about how to perform the bridge.
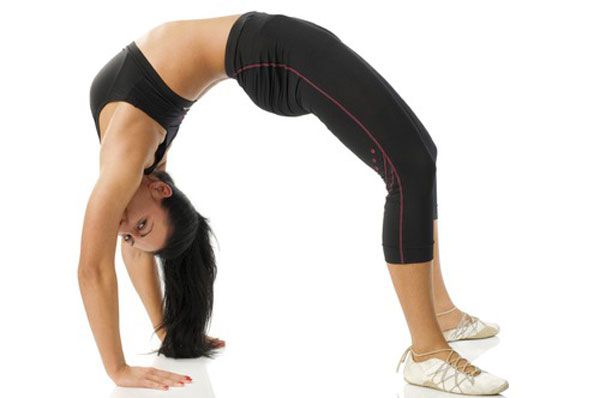
When performing the bridge you should arch your back. A bridge with a straight back made at the expense of the limbs is incorrect
The buttocks should be above your head and shoulders
Straighten your arms as much as possible. Stand on your hand without lifting your feet off the ground. The distance between the palms (and between the feet) should be equal to the shoulders’ width. It is not easy to achieve it, but we are talking about an ideal version
Breathe freely and without delay
To learn how to perform the bridge correctly, you must consistently work out all the exercises leading to it. Let us list these exercises, and describe each of them. They are listed in ascending order of difficulty:
You can stop on classic one, but there is no limit to perfection. Let’s talk about difficult options. They are:
Wall bridge
Standing bridge
Leading exercises
Let’s take a look at each exercise separately, which allows you to learn how to make the correct bridge.
Shoulder bridge
To perform this exercise, lie on your back and place your feet on the floor with your knees bent. You can stretch your arms along your body or fold them over your stomach. It’s the starting position.
Next, resting on your shoulders, you should lift your pelvis as high as possible and arch your lower back. The feet at the same time remain on the floor.
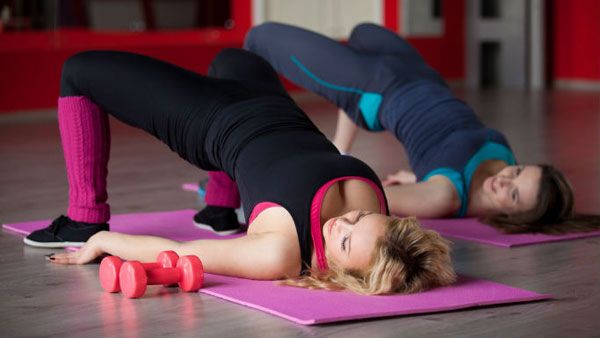
Move on to the next one when you’ll master the exercise in 3 sets of 50 repetitions.
Straight bridge
Sit on the floor with your legs straight, stretched in front of you. Rest your palms on the floor on either side of the body, fingers pointing forward. Keep your back straight.
Next, lift the pelvis from the floor and straighten the body. The feet in this position will rest on the heels, and the gaze is directed upwards diagonally. Do not press your chin to your chest and do not bend the neck. Your torso should be in a straight line.
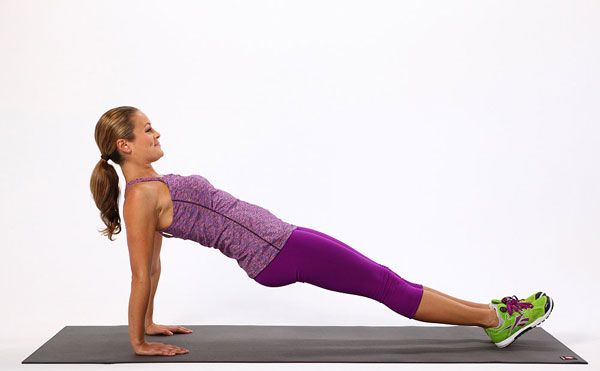
You should be able to do at least 3 sets of 40 reps. Let’s move on.
Glute bridge on bench
To practice such exercise, you will need a bench, low box, or other stable support. Sit on the bench, placing your palms on its edge on either side of you. Move your feet forward and rest your shoulders on the bench. Move your hands so that your palms are completely on the bench and your fingers are pointing toward your feet. Keep your feet on the floor and your knees bent at right angles.
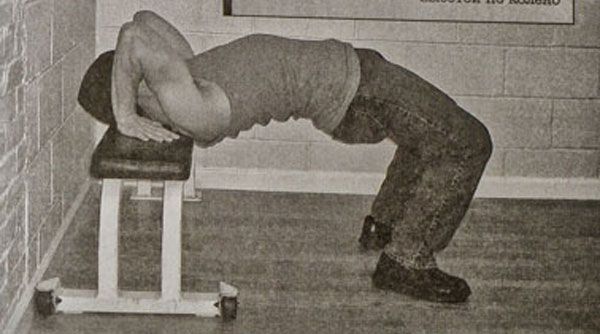
Lift from the bench with the strength of your arms and arch your back as much as possible. You’re almost done it! Do 3 sets of 30 repetitions.
Half-bridge
Grab a ball or a small pouf. Any low object will do. Sit on the floor and put the ball behind you. Then lie on it with the middle of your back.
Put your feet on the floor and bend the knees. Place your hands across the top on the floor near your head, with your fingers toward your feet. Relax your neck and put your head down. From this position straighten your arms and legs and arch your back as much as possible.
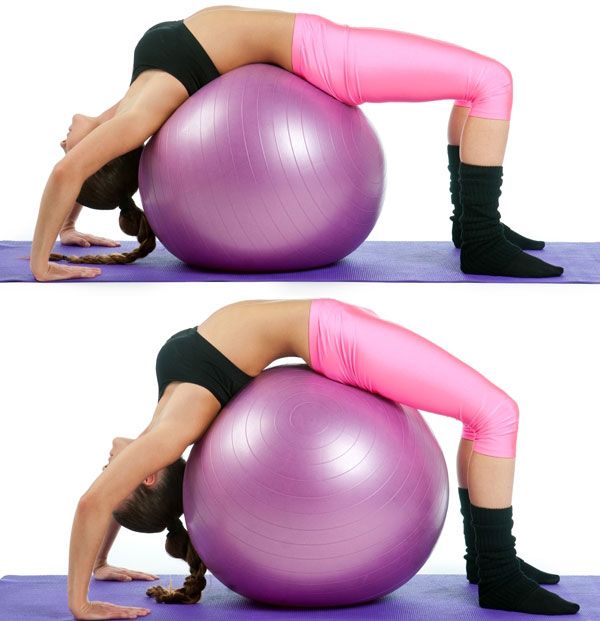
It is enough to do two sets of 20 reps.
Classic bridge
The exercise is performed in the same way as the previous one but without the ball. In this case, you’ll everything on the floor. Lower your head. There must be no tension in the neck. The distance between the legs (and between the arms) must be equal to the shoulders’ width. Try to arch your back as much as possible and to completely straighten your limbs.
Do two sets, 15 reps.
Practicing the perfect bridge from the prone position may take some time. You can stop at this way of doing the exercise or make it even more difficult.
How to make the bridge more difficult?
Once you’ve mastered the classic bridge, you can try performing the exercise from a standing position.
Wall bridge
Stand with your back to the wall, 2 steps away from it. Bend backward and rest your palms against the wall. Point your fingers downward.
Make small steps with your hands on the wall and thus go all the way down to the floor. You can step back a little with your feet to make the distance to the wall more comfortable. Stand in such a position for a few seconds.
Now you need to climb back with your hands. It’s more difficult and requires more effort. All movements must be performed in reverse order. In the end, you must return to the starting position – standing with your back to the wall.
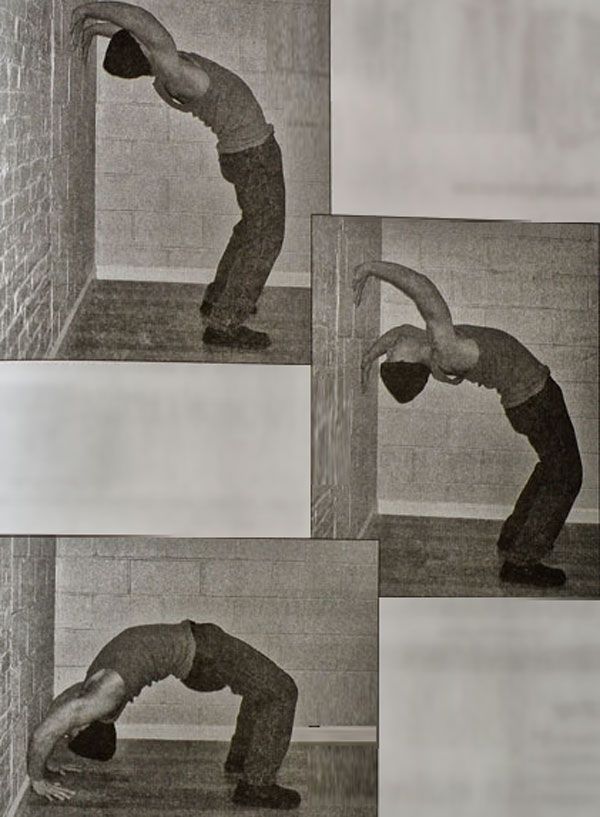
Step back and forth 8 times, make 2 approaches.
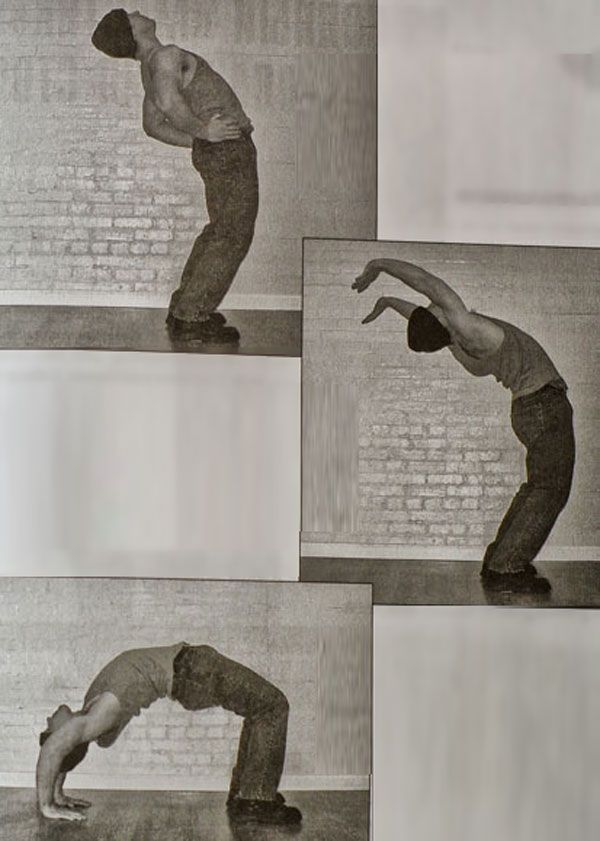
Standing Bridge
Stand up straight with feet shoulder-width apart and put your hands at your waist. Next, perform the following:
Bend your knees and pelvis forward, with your head tilted back. You should see the space behind you
When you feel that further bending would lead to loss of balance, raise your hands, bend your hands so that the fingers are directed backward
Push back your arms as much as possible, arch your back, move your pelvis forward and spring your legs. Your task is to overcome the fear of falling and land gently with the palms of your hands on the floor behind you
When your hands touch the floor, stay in that position for a few seconds and drop to the floor
You can ask your partner to back you up by holding the hand under your back. The exercise requires well-developed flexibility and coordination
When you manage to perform 2 sets of 5 reps in a row, you can proceed to the last step.
Standing position lifts
So, the final task. Now you don’t need to lower yourself to perform the bridge, but rather rise out of it. Stand in the starting position. Push off the floor with your hands, swing your pelvis forward and bend your legs. At the same time, by a powerful effort of the abs lift the body into an upright position.
You can try to combine that and the previous movement. Perform the bridge and rise out of it. Do it three times, rest a little, and repeat the exercise.
Now, you can work on honing your technique and increasing the number of reps!


